Using the Requested Price Feature
The requested price feature allows customers to enter a price at which they would like to buy a product. If this price is reached or undercut, the customer can receive an automatic email notification.
Attention
The requested price feature is disabled by default in the APEX theme.
To use it, please contact your implementation partner.
Configuring the Feature
Enabling the Feature Globally
Procedure
Choose the settings of the active theme.
In the Functions section, enable the checkbox for requested price.
Disabling the Feature for Individual Products
Procedure
Choose .
Choose the product you want to configure.
Choose the Extended tab.
Enable Disable requested price to deactivate the feature for this product.
Displaying the Feature in the Storefront
If the feature is active:
The product detail page shows the tab [!] Requested Price.
Customers can enter a desired price and their email address.
After submitting the form, they receive a confirmation.
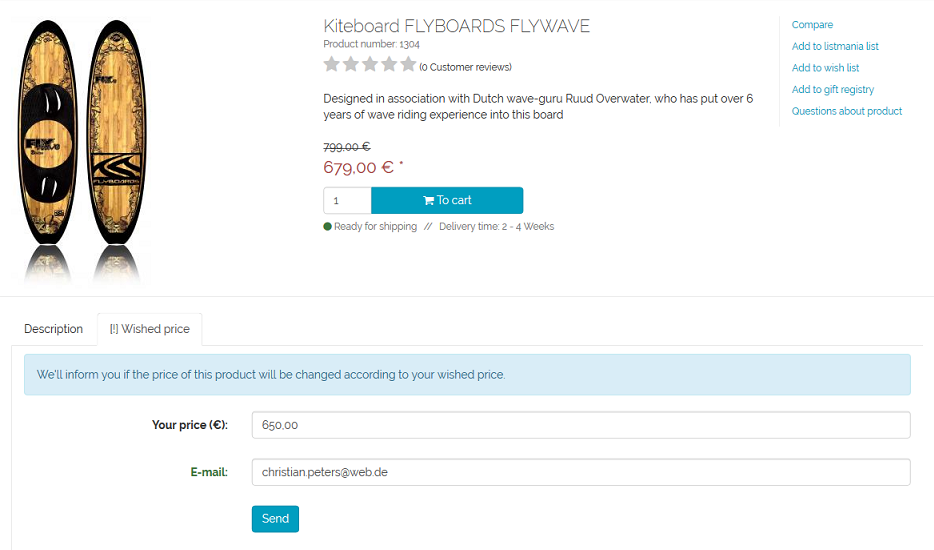
Fig.: Product detail view, Requested Price tab
Creating the Email Template
Create an email template for the requested price notification.
Procedure
Choose the CMS page Requested Price (Ident:
oxpricealarmemail).Edit the text as needed.
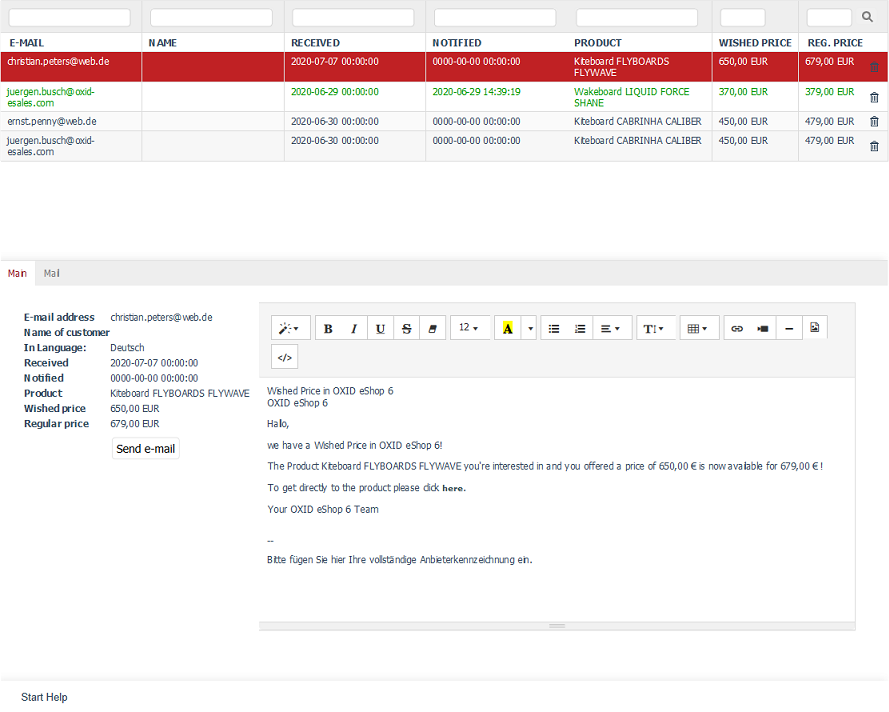
Fig.: Editing the requested price email template
Managing Requested Prices in the Admin Area
Processing Incoming Requests
Procedure
Choose .
Result
You see a list of all requested price entries with the following information:
Customer’s email address (as entered in the form)
Name (if the customer is registered)
Language used when the request was submitted
Date of the request
Date of the notification
Product name
Regular price
Requested price
Editing and Sending Notifications
Procedure
Choose an entry from the list. The detail view is loaded into the input area.
Choose the Main tab to customize the email text.
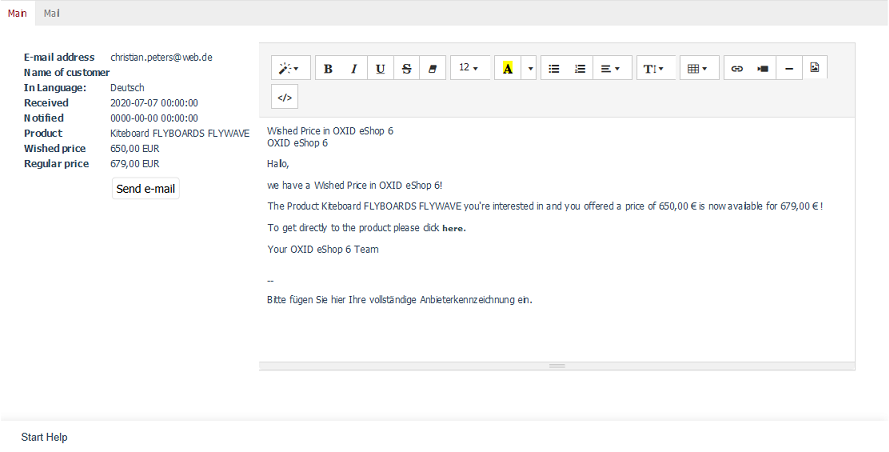
Fig.: Customizing the requested price email text
The Main tab displays all relevant request data along with a prefilled message text, which can be edited and formatted.
Note
The editor is WYSIWYG-based (What You See Is What You Get). It shows the text exactly as it will appear in the email. You can apply formatting, insert links, images, or videos, and edit the HTML source if needed.
The default text is based on the language constants
EMAIL_PRICEALARM_CUSTOMER_*defined in the admin area.Choose the Email tab to send the message.
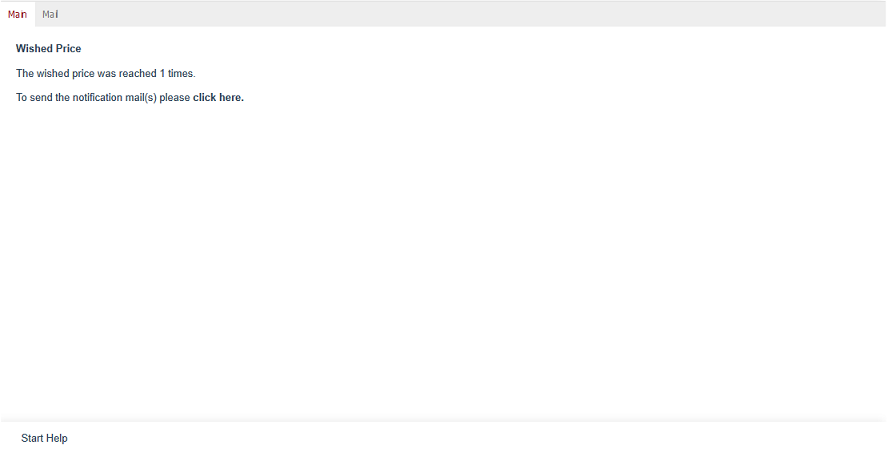
Fig.: Sending the requested price email
Result
When the Email tab is opened, the shop automatically checks all open requested price entries. If the desired price for a product has been reached or undercut, this is displayed.
If at least one requested price condition is met, a message appears offering to send the notifications. Click the displayed link to start the email dispatch process.