Installation
Install the payment module Stripe Payment for OXID for your OXID eShop version 7.4 or higher.
Prerequisites
You have installed OXID eShop 7.4 or higher.
You have configured https.
Procedure
Open a shell and navigate to the root directory of your eShop (where the
composer.jsonfile is located).
Example:cd /var/www/oxideshop
Run the following command:
composer require oxid-esales/stripe-wallet ^3.0.0
Note
This command automatically installs the OXID Payment Base module (oxid-esales/payment-base) as well. Stripe Payment for OXID builds on this provider-agnostic foundation — the shared Payment tab in the order detail view, the smart-contract lifecycle, and the webhook pipeline are provided by it.
Further reading: OXID Payment Base Documentation.
Run the database migrations.
Background: The database tables of Stripe Payment for OXID are created by the OXID Payment Base module (all tables with the prefix oe_payments_). Stripe Payment for OXID has no migrations of its own. Without this step, the tables are missing and payment processes fail with database errors.
./vendor/bin/oe-eshop-db_migrate migrations:migrateThis command runs the migrations of the eShop and of all installed modules. To run only the migrations of OXID Payment Base, use the following command:
./vendor/bin/oe-payment-base-migrate
Tip
Run the migrations again after every update of Stripe Payment for OXID or OXID Payment Base. To have this done automatically with every composer install and composer update, add the command to the
composer.jsonfile of your eShop project:"scripts": { "post-install-cmd": ["oe-payment-base-migrate"], "post-update-cmd": ["oe-payment-base-migrate"] }
If the arrays already contain commands, append the new entry instead of replacing them.
To check whether the database schema is up to date, for example before a deployment goes live, run ./vendor/bin/oe-payment-base-schema-check. The command ends with exit code
0if the schema is up to date and with1if migrations are pending.Recommended: Clear the cache.
Background: Otherwise, configuration settings under may not be displayed correctly.
./vendor/bin/oe-console oe:cache:clearOptional: To activate the modules, run the following commands in this order.
Alternatively: Activate the modules manually during configuration (see Activate Stripe Payment)../vendor/bin/oe-console oe:module:activate oe_payment_base ./vendor/bin/oe-console oe:module:activate oe_payments_stripe_wallet
Important
Stripe Payment for OXID depends on OXID Payment Base. Always activate OXID Payment Base first. If it is not active, the activation of Stripe Payment for OXID is rejected with the following message:
Module "oe_payments_stripe_wallet" has unfulfilled dependencies in shop "1" and can not be activated.
"oe_payments_stripe_wallet" requires the following modules to be activated: "oe_payment_base"
For the same reason, OXID Payment Base cannot be deactivated as long as Stripe Payment for OXID is active. Deactivate the modules in reverse order.
Result
Once the installation process is complete, the module Stripe Payment Gateway appears in the administration area under (Fig.: Stripe Payment Gateway successfully installed).
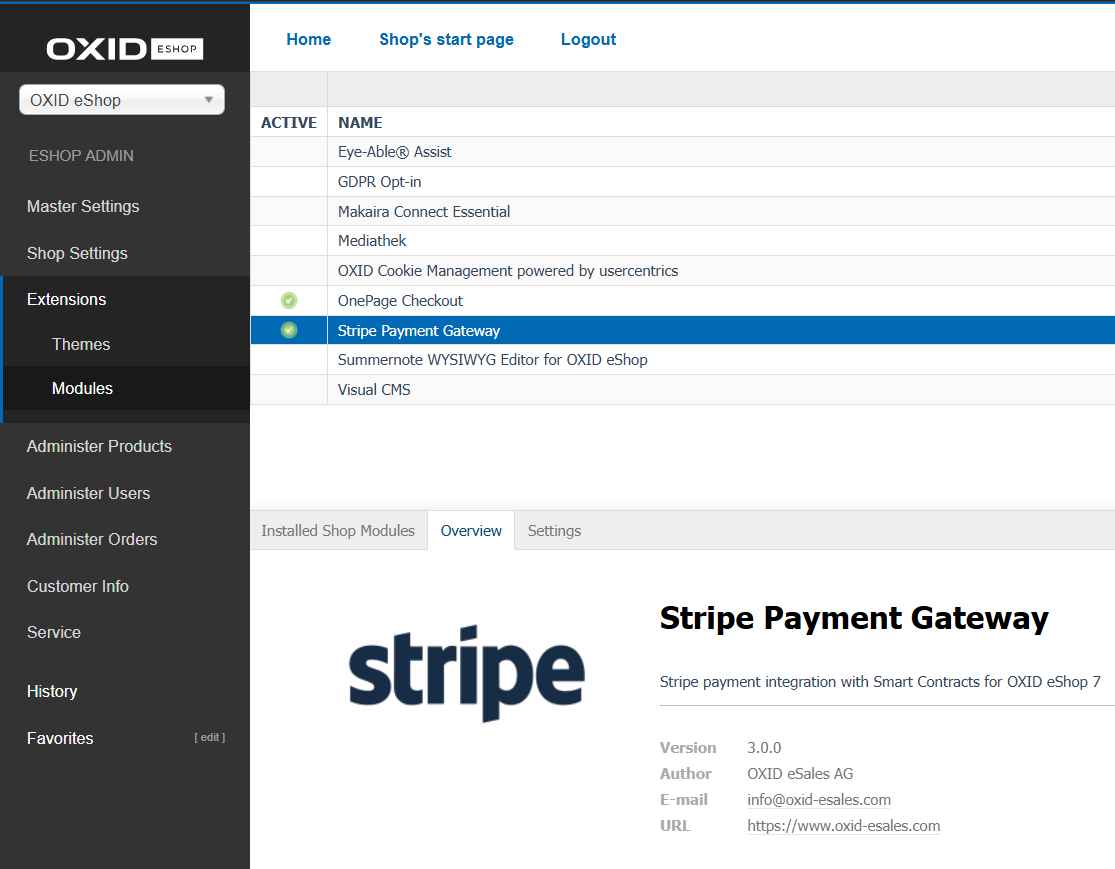
Fig.: Stripe Payment Gateway successfully installed