New installation
Learn how to install OXID eShop.
To get the files required for the shop, use Composer, a dependency manager for PHP.
After that, run the web-based setup and install the shop as usual.

Find the installation guide in English in the developer documentation under https://docs.oxid-esales.com/developer/en/latest/getting_started/installation/index.html.
Ensuring server und system requirements
Contents: server, shared hosting, managed server, server farm with load balancing and database cluster, Linux, web server, Apache 2.2 + 2.4, MySQL 5.7 + 8.0, MariaDB 10.4, PHP 8.0 + 8.1, Composer 2.7.7, Metadata 2.0 + 2.1, OpenSSL
Read article 
Preparing for installation
Contents: installing Composer, providing shop files, configuring Apache, customizing file and directory permissions, creating a database
Read article 
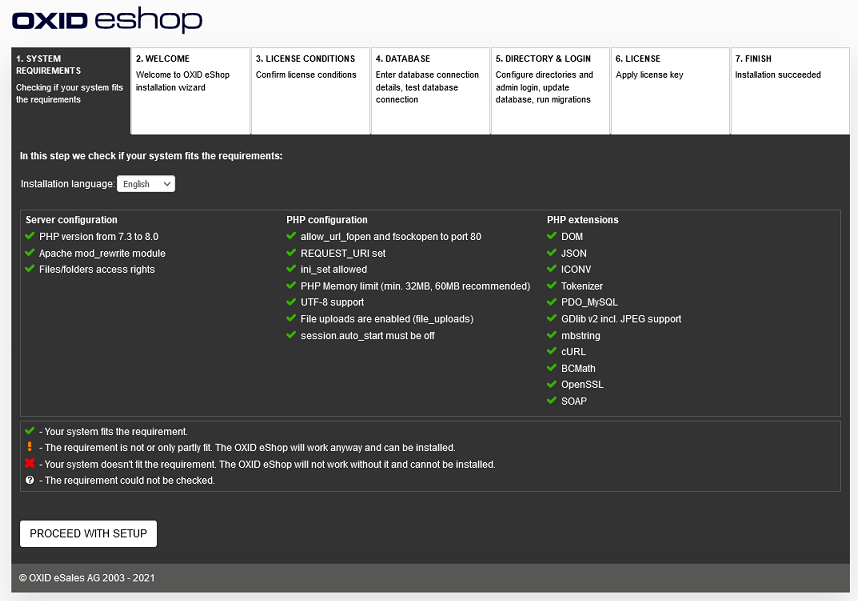
Running setup
Contents: web-based setup, checking system requirements, selecting main shipping country and shop’s language, license terms, database, database name, specifying database user and password, demo data, shop directories, defining login data for the Admin panel, shop administrator, entering license key (PE and EE)
Read article 
Setup via command line
Contents: setup via command line, oe:setup:shop, Datenbank, db-host, db-port, db-name, db-user, db-password, shop configuration, shop-url, shop-directory, compile-directory, language, oe:setup:demodata, demo datea, oe:admin:create-user, access data for administration panel, shop administrator, admin-email, admin-password, oe:license:add, oe:license:clear, license key for PE/EE, module installation, oe:module:install, oe:module:uninstall
Read article 
Completing installation
Contents: checking deletion of the setup directory, setting file and directory permissions, write permissions for /out/pictures, /out/media, /log, /export, /tmp, write protection for .htaccess, config.inc.php
Read article 